Labeling Potted Irises in 2019
For members of our family, irises aren’t just plants. Irises are treasures intertwined in our family traditions, celebrations, and memories. Every time we see an iris, we are reminded of the people we dearly love and our hearts fill with joy. We honor the work that brought plants to our gardens by choosing proper and durable labels during cultivation and division.
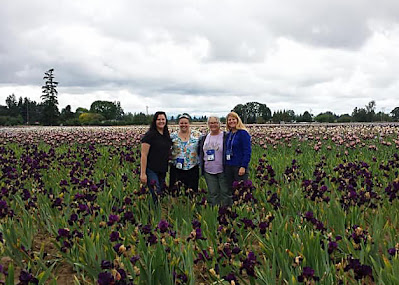
Alleah and her daughters Heather, Susan, and Keren enjoying production fields at Schreiner's Iris Gardens in Salem, Oregon.
Alleah’s experience with irises has a parallel with her youngest daughter Heather’s experience with historic family photos. When Heather received a trunk filled with mementos from her paternal and maternal ancestors, she found the photographs both wonderful and problematic. Without informative and durable labels, our family photographs became mysterious treasures that were difficult to identify once passed along. With over 80,000 registered varieties and counting, the same can be said for irises. Without informative and durable labels, irises become mysterious treasures that are difficult to identify once passed along. We share a powerful lesson inspired by our numerous and now unidentifiable family photographs: Labels help future generations understand and appreciate a treasure we pass along.
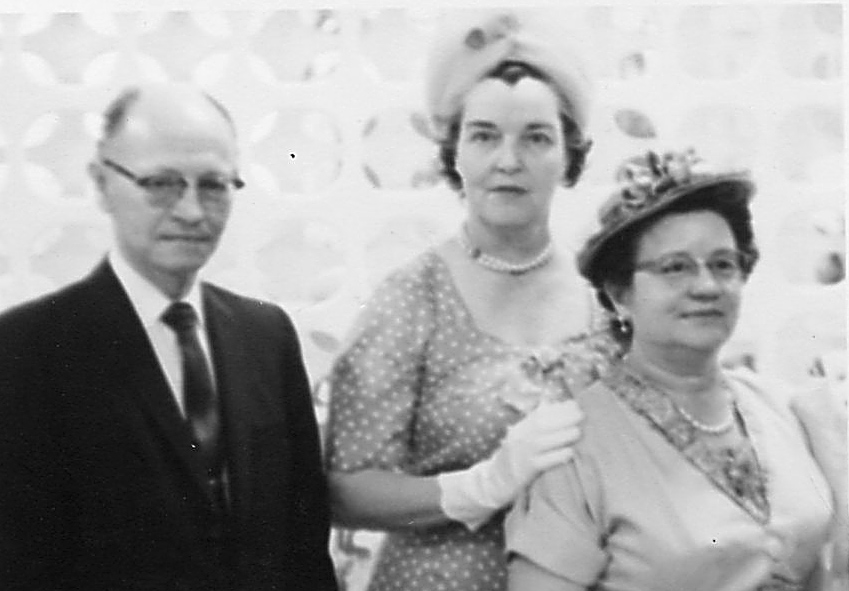
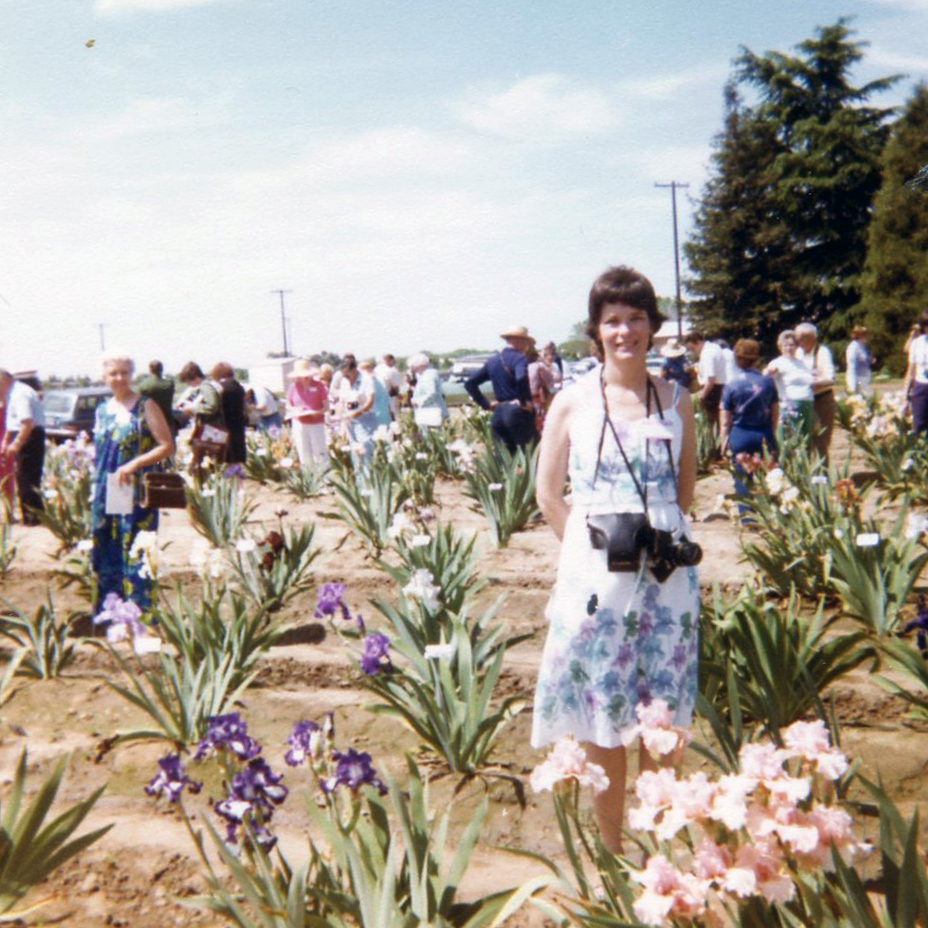
Although Alleah quickly recognized her mother, she could not identify the man on the left or the woman in the center. They could be iris society members or friends from service organizations in New Mexico.
Our trunk contained mementos of a mysterious irisarian Heather had heard about her entire life but never got to meet. Alleah was highly familiar with this person and dutifully started labeling photos from memory for Heather. For at least an hour Alleah told wonderful stories about the first bona fide iris lover in our family, Heather’s maternal grandmother Gertie May Barnes. Gertie’s passion for this particular plant is the reason her descendants instinctively “ooh and ah” and discuss them as if they were close relatives. Irises have been part of our lives for as long as we can remember.
Around 1944, Gertie and her husband Bernard Otto Barnes moved to Albuquerque, New Mexico. Gertie sought out a hardy perennial that could withstand growing in that climate. What Gertie found was an extraordinary “garden diva” that inspired her membership in the American Iris Society (AIS), training to become an accredited AIS judge, and service as Regional Vice President for AIS Region 23 (New Mexico).
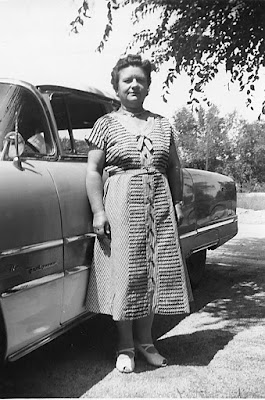
Gertie and the Barnes family's 1952 Packard
By the 1960s, Gertie had used almost two-acres surrounding the Barnes home to establish Willow Garden Nursery where she maintained a large collection of irises and sold perennials by word-of-mouth. Gertie used profits from her nursery to purchase new irises and attend annual National Iris conventions and those of another service organization. Aril and arilbred irises grow very well in New Mexico and were Gertie’s favorites. She became fast friends with aril fancier and hybridizer Howard Shockey and his wife Irene. Gertie also collected each American Dykes Medal winner and the yearly top 100 honorees of the AIS popularity poll (the “100 Favorites”).
Gertie also enjoyed fishing, and she passed unexpectedly while doing this on Williams Creek Lake near Pagosa Springs, Colorado in late 1967. The boat she was fishing in with Bernard overturned and she was unable to swim. Bernard nearly lost his own life trying to save hers. Although we know the late Mrs. Bernard Barnes successfully hybridized irises and exhibited seedlings, we don’t believe any were formally registered with AIS nor introduced into commerce. Family oral history is that she didn’t feel her own hybrids were worthy of registration or introduction.
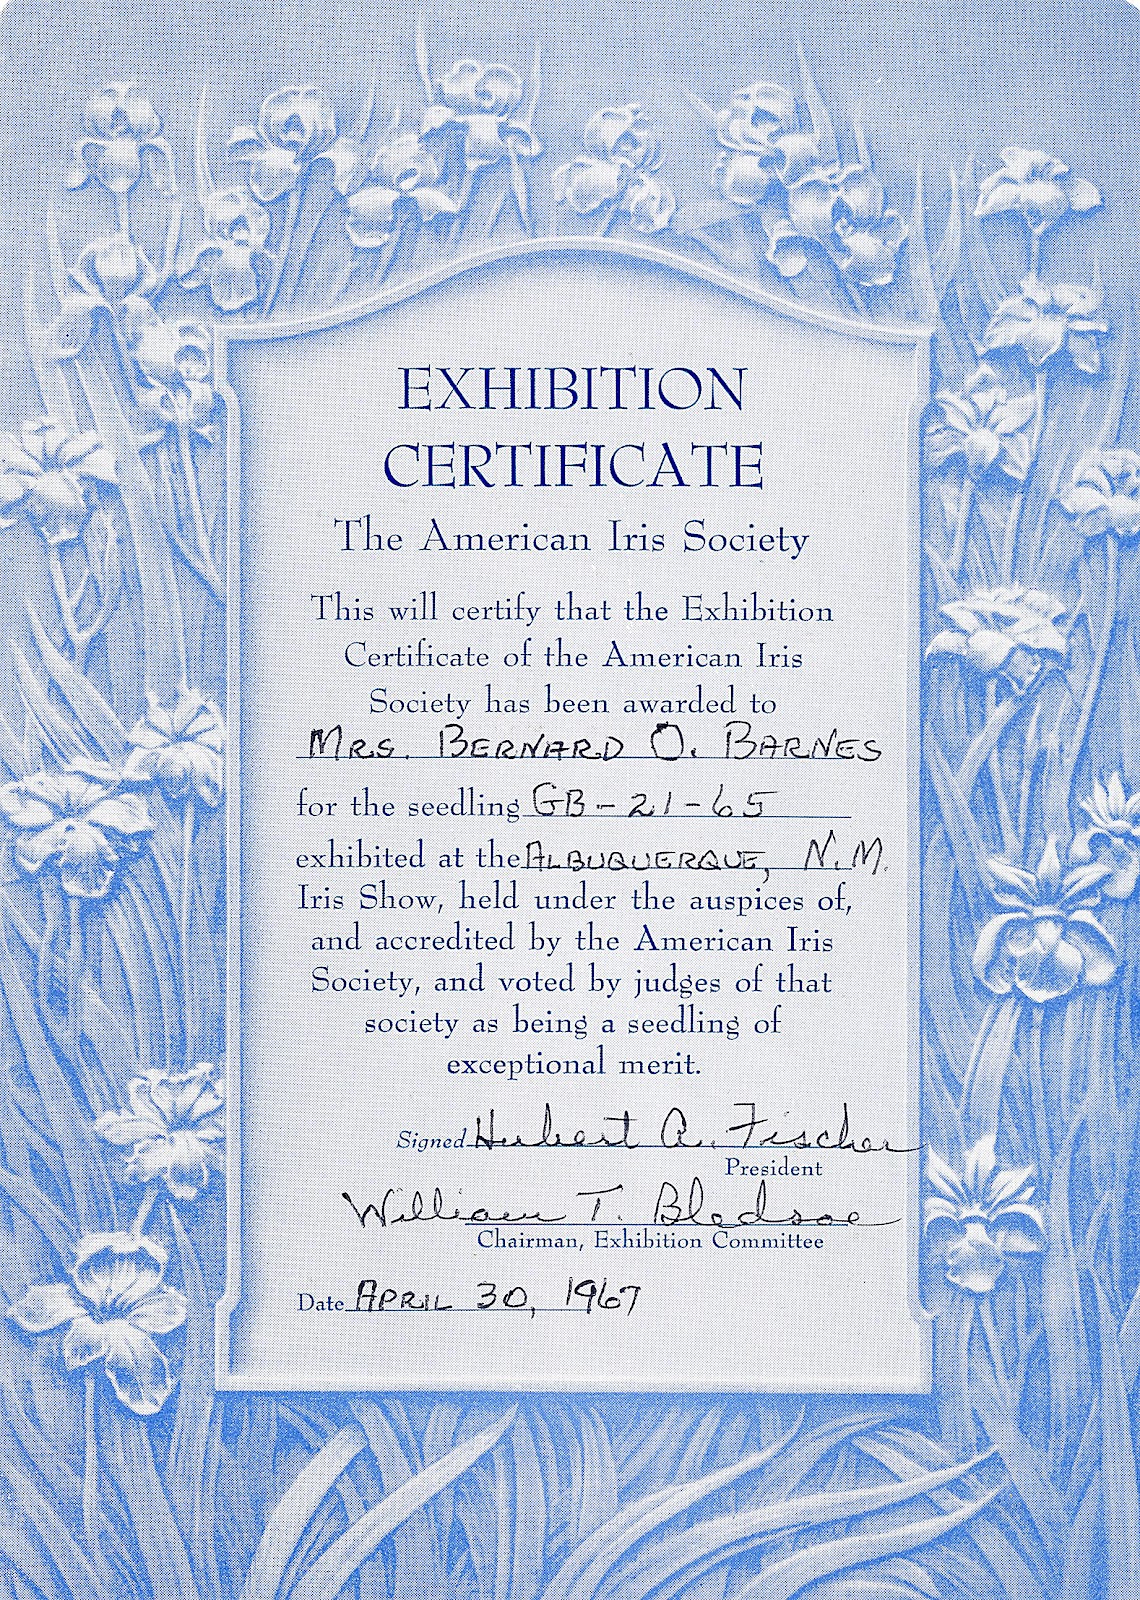
The trunk Heather received contained nine iris show certificates awarded to her grandmother Mrs. Bernard Otto Barnes. It appears that Gertie exhibited iris seedlings starting in 1963 until her passing in 1967.
We keep Gertie’s memory alive by growing irises like she did. Irises in our collection were purchased and/or received from members of an informal and extended “iris family.” We feel kinship to anyone growing labeled irises. Their combined effort makes it possible for us to enjoy and collect the irises we know Gertie had. Especially close to our hearts are owners of a garden toured during the 2019 AIS National Convention: Rudy Ciuca and Joe Lawrence of the C&L Vineyard Garden in Sonoma, California. Rudy and Joe are close friends of Alleah’s and have always been quick to aid efforts to keep her collection of American Dykes Medal winners complete and up to date. Most recently, they started helping Heather collect recipients of other AIS awards and notable cultivars her heart desires. At least 20 boxes of irises from various members of our “iris family” arrived at Heather’s farm during 2020, plus boxes of iris labels inherited as Alleah was downsizing. Perhaps only an iris lover would get as excited as Heather did about this inheritance! Each year, creating labels for irises we receive is our way of honoring our extended “iris family” and the traditions, celebrations, and days we spent together “oohing and ahhing’’ over our treasured plants. The names and dates appearing on iris labels prompt discussion and storytelling much like family photos do. Remember, labels help future generations understand and appreciate a treasure we pass along.
As Heather was growing up, iris labels cemented her understanding of irises as a family treasure. Her mother Alleah spent many hours commuting to work and supporting the activities her three children participated in. Alleah had little time to spare, and it often focused on caring for the 16 labeled irises in her garden. From her earliest age, Heather knew what irises were and of her mother’s and grandmother's love for them. The simple fact they were labeled sparked Heather’s curiosity. She wondered, why on Earth would anyone bother making little metal tombstones for their irises? None of the neighbors’ plants had these. Sometimes botanical gardens did, but those labels had strange sounding Latin names on them. Now, nearly thirty years later, Heather understands why Alleah was labeling her irises. It’s because Gertie did, and our extended iris family does. It becomes possible to share information widely, replace a plant you loved, and organize contests when many iris lovers know the identities of each “diva” blooming in their garden.
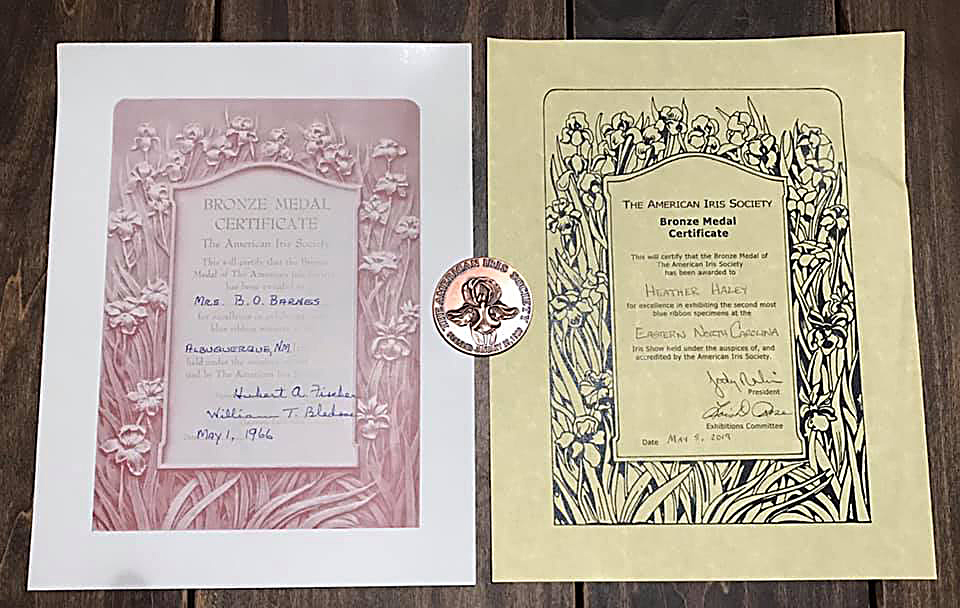
AIS Bronze Medal Certificates
Grandmother Gertie May Barnes 1966
Granddaughter Heather Grace Haley 2019
Our family practices a labeling tradition started by Gertie May: using galvanized metal plant tags from See-Fine Flower Marker Company. The Idaho company was established in 1953 and its high-quality product accommodates engraved or printed labels. The name plate measures 1 ¾” x 3 ⅜” with rounded corners, held at a 45 degree angle atop a single sturdy galvanized wire. A similar stainless steel product with two upright wires is sold by Kincaid Plant Markers of Missouri, but our family has always used See-Fine Markers. They don't twist when pushed into the ground and we get nostalgic about the botanical garden type markers Gertie liked. We also know See-Fine markers will survive battles against riding lawn mowers while maintaining readability and perhaps structural integrity. Alleah prefers the 20-inch size for median irises and submits orders through the U. S. Postal Service. Heather prefers the 26-inch size and submits orders by e-mail. Owners and pricing have changed at See-Fine over the years, but we are delighted the company is still in business.
See-Fine Flower Markers
Thad Brinkley
1314 Alder Avenue
Lewiston, ID 83501
(208) 413-6238
Seefineflowermarker.com
Heather’s husband Chris originally didn’t understand her desire to label irises. He also wondered, why on Earth would anyone bother making little metal tombstones for their irises? Heather and Chris tried compromising on short plastic labels that were less visually obtrusive. Unfortunately, heavy rainfall in North Carolina saturates the clay soil and washes lightweight plastic labels out of the ground. This defeats the purpose of labels. Alleah quickly responded to Heather’s request for her first See-Fine plant markers as a birthday present and her husband couldn’t refuse the gift. Today Heather and Chris sink metal markers deep into the soil to preserve both iris identity and marital bliss.
Heather’s inheritance: Metal plant markers from Alleah’s garden
While discussing labeling methods with members of our local AIS affiliate, the Eastern North Carolina Iris Society (ENCIS), members Diana Dudley and her husband Dean Richards suggested burying plastic backup markers. A young visitor to their Bee Happy Farm once collected up a whole handful of metal iris markers and presented them to Diana as a bouquet! Alleah and many others have shared similar stories. Heather now buries a plastic backup label with every iris in her garden and checks them against the metal tag when it’s time to dig and divide irises. She also uses her plastic labels to tag irises for resale. The pot provides good drainage and if a label floats up it doesn’t leave the pot.
ENCIS members Susan and Glenn Grigg also suggested that drawing a planting map can help keep irises labeled. Alleah made lists and planting maps of irises in her garden for many years. They were rough pencil sketches of each iris bed with names of each iris in its approximate location. During Heather’s early days planting irises in her own yard, she accidentally created planting maps by printing out pictures from the Iris Encyclopedia and taping them to paper as she planned iris beds. Heather has far too many irises to do this now, but it was fun when her collection was small.
We must not fail to mention Markers and Labels, a comprehensive review of plant markers and labels researched and edited primarily by Historic Iris Preservation Society (HIPS) member Charlie Carver. This wonderful article appeared in the HIPS publication ROOTS Volume 31, Issue 1 (Spring 2018). A six-page treatment that includes many photos of labels from 15 U.S. companies including See-Fine, Kincaid, and Paw Paw Everlast. The latter was mentioned by ROOTS editor Nancy McDonald, who lives in far northern Michigan where nature provides 200-300” of snow each winter. This kind of weight bends the zinc Paw Paw Everlast markers, so she now uses Kincaid.
The Markers and Labels article also describes many plastic markers. Alleahs’s iris hybridizer friends Ross and Barbara BeVier, formerly of My Wild Iris Rows nursery, recommend products from Macore Corporation in Oregon. The BeViers used 1.25” wide x 12” long heavy duty white plastic markers in their iris fields. Heather uses the smaller 1” x 6” version for her plastic backup markers.
Macore
PO Box 338
Lafayette, OR 97127
800-331-9555
Macore.com
Family members differ slightly in how they create identification labels to adhere on plant markers, and methods reflect our needs and goals. If we need to quickly make a few labels, we all own Brother P-Touch label makers loaded with ½ in. wide TZ-231 laminated white tape with black lettering. Using laminated tape is important because labels need to be reasonably waterproof. If many labels are desired, we start typing away on a computer and find the nearest laser printer. Avery 5520 Weatherproof Address Labels are available from office supply stores and have thirty 1” x 2 5/8” adhesive labels per sheet. Ink-jet printing won’t stand up in outdoor conditions, and regular paper labels just aren’t durable enough. Some office supply stores sell their own brand of weatherproof labels, but in our experience Avery brand is best. Such labels have been known to last at least ten years!
Labeling supplies
Most of the irises we grow and treasure were created through hybridization. At minimum, their plant labels include the registered name, hybridizer, and year of introduction. It is important to understand that the year an iris is introduced into commerce may be later than the year the name was registered with AIS. In the Iris Encyclopedia entries, the year of introduction appears next to a business name at or near the end of the description. The year of registration often appears with a capital R and is listed near the beginning of the description. AIS e-members can quickly access a database of iris introductions and registrations without pictures. This database is useful if you are trying to make labels in a hurry, or want to determine if an iris name is available.
Sometimes our labels also distinguish between hybridizers with the same last name by adding a first initial. Alleah likes to add abbreviated descriptors next to cultivar name, for any iris other than tall bearded. For example, iris cultivar ‘Concertina’ is an intermediate bearded (IB), space age (SA), rebloomer (RE). If an iris is part of Alleah’s American Dykes Medal collection, she includes this honor and the year it won. Heather likes to include this highest AIS medal and other AIS awards on labels she makes for her nursery business, the Broley Homestead. She uses the various awards on her iris labels to describe the multi-year, multi-tier “Miss Universe'' like competition in which judges evaluate irises of all types for their worthiness in the garden. ‘Concertina’ earned the Award of Merit in 2006, so Heather’s label for it looks like this:
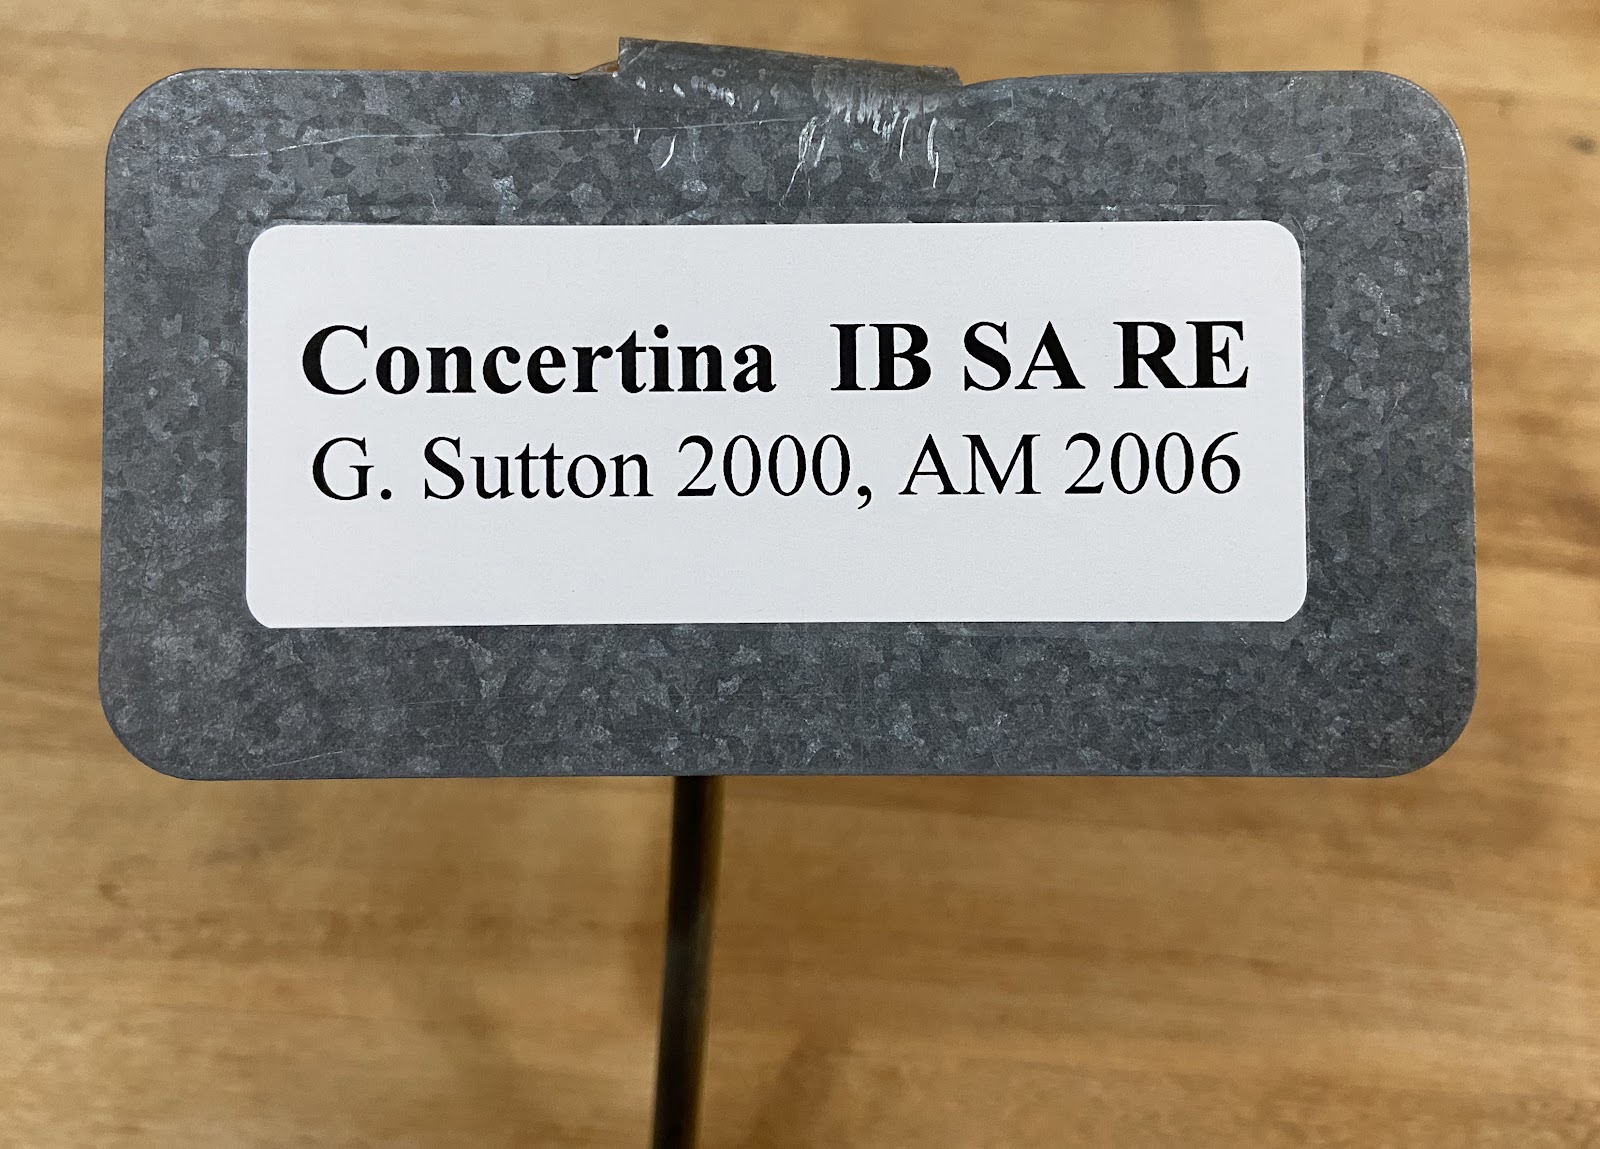
Weatherproof address label on galvanized metal plant marker
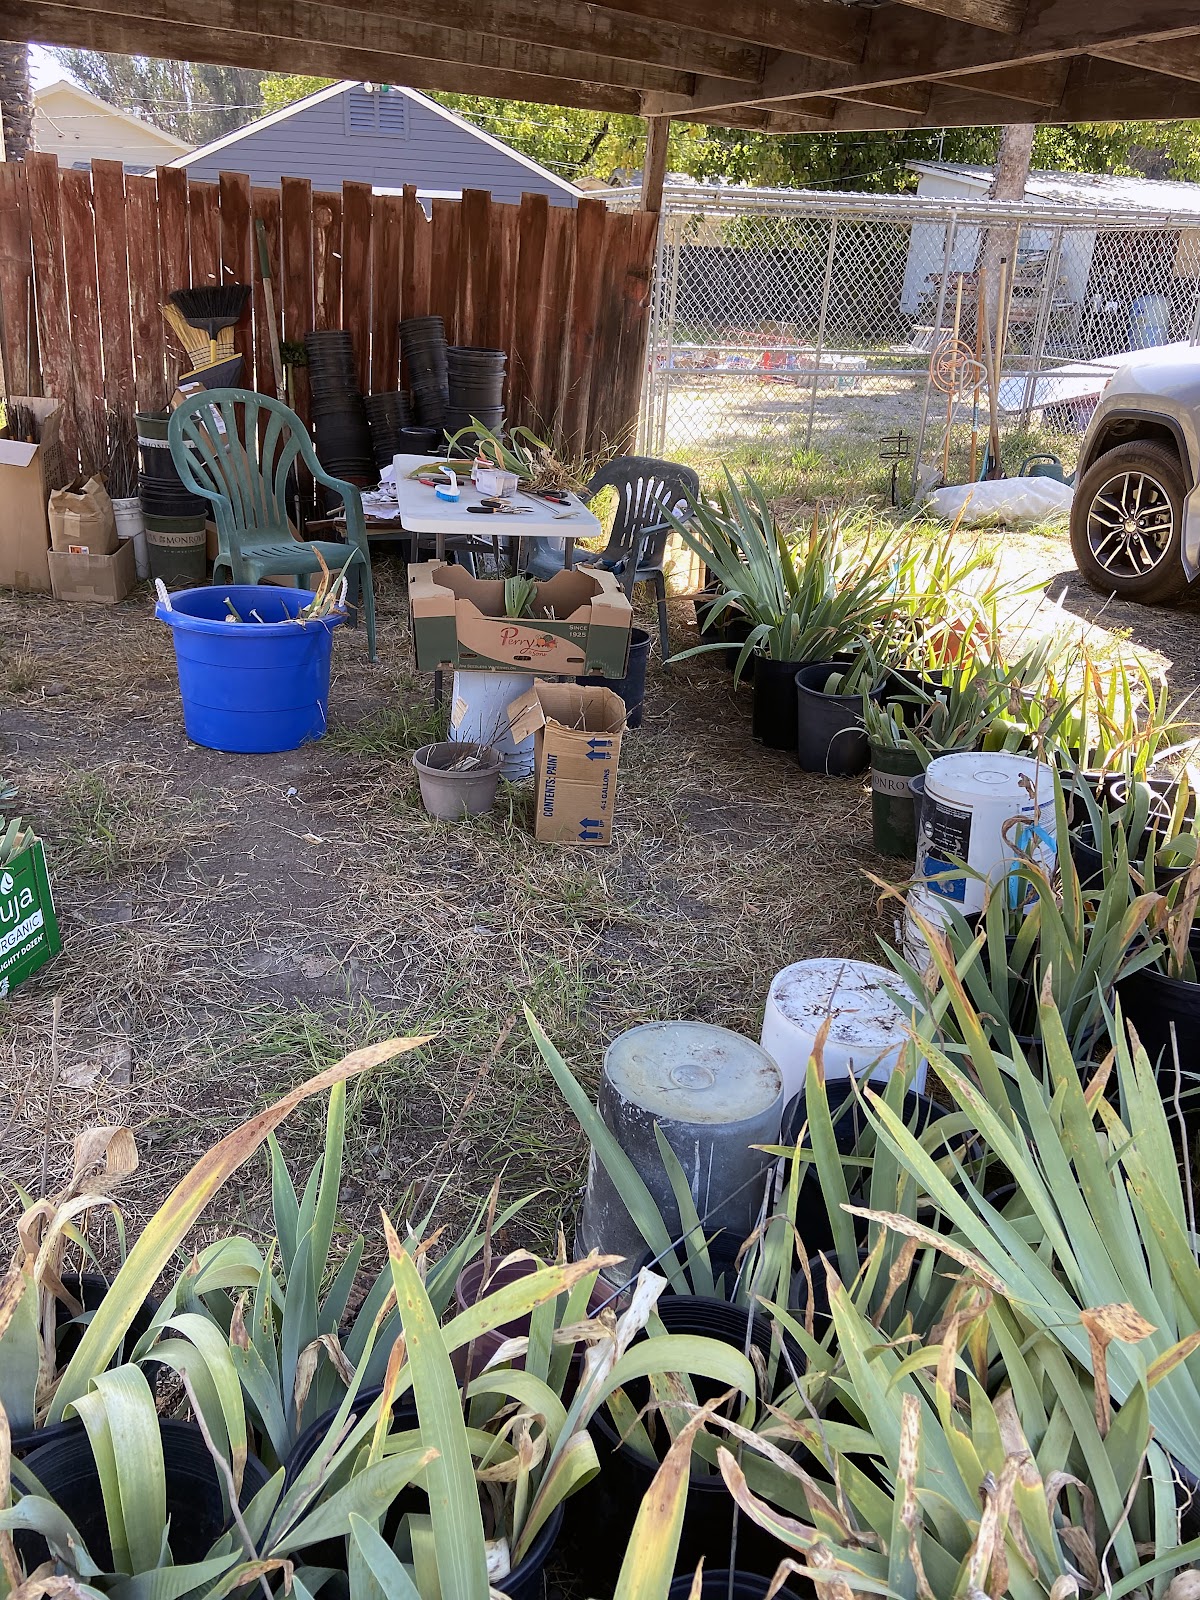
In 2020, our current family matriarch and iris expert Alleah Haley continued training her eldest daughter and two granddaughters in methods for digging and labeling our treasured plants. The crew, including Heather, spent a week digging and processing over 300 bearded and beardless cultivars. Alleah had decided it was time to downsize, sell her home in Northern California, and move closer to family. Luckily for the irises, she decided to sell during digging season. Like many long time iris lovers, Alleah seemed to be growing irises everywhere and in every way imaginable. It was a labeling adventure we will not soon forget. Remember, labels help future generations understand and appreciate a treasure we pass along.
Gertie’s descendants spent three summers digging irises together in preparation for Alleah’s move to North Carolina.
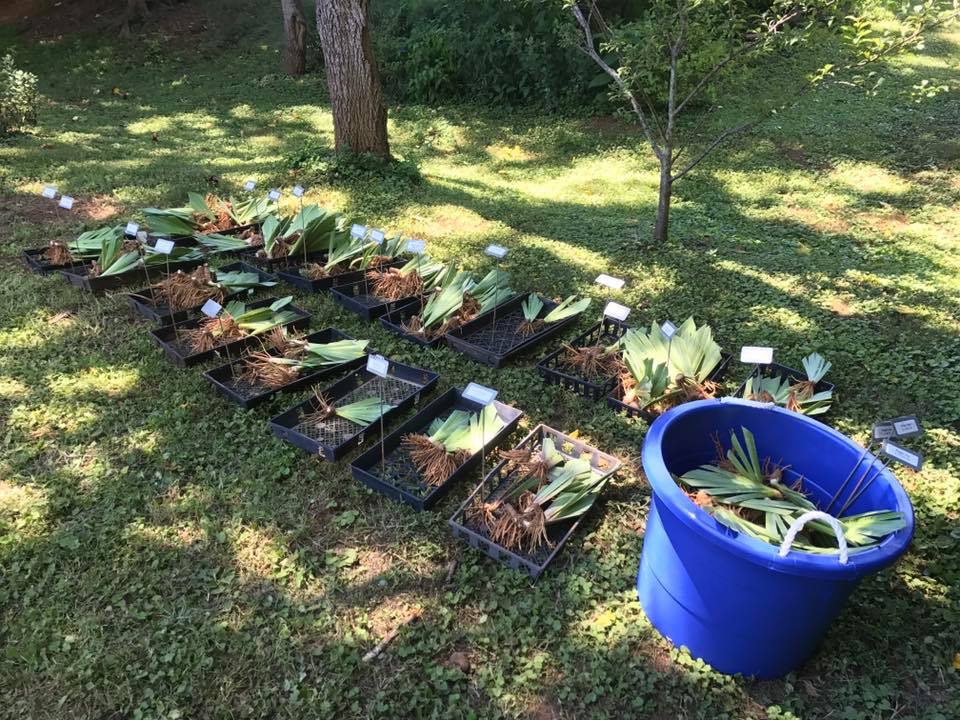
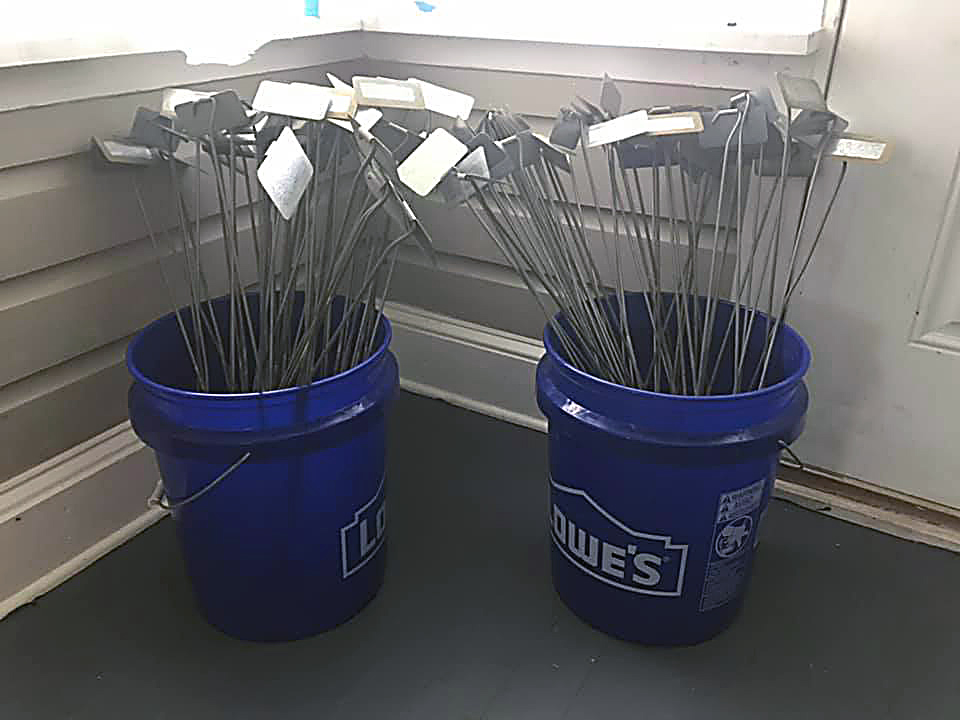
Labeling is just as important during division as it is during cultivation, perhaps even more so. Until Alleah’s oldest daughter and granddaughters started helping her dig irises, they were unable to appreciate how methodical the process is to keep the identity of an iris known. They developed a new appreciation for labeling irises, and were eager to inherit metal plant markers too. We dig one cultivar at a time and place its metal marker upside down in a large plastic flower pot. Next, we break apart rhizomes and place those that have not bloomed in the pot with the metal plant marker. Digging is VERY tiring. When we want a break, we move pots holding each cultivar to the shade for further processing. To avoid confusion, the cultivars stored in one pot are processed by one individual and it is their responsibility to ALWAYS know the identity of what they are handling and labeling.
Labeling irises in the shade is a lot more enjoyable than labeling in the sun.
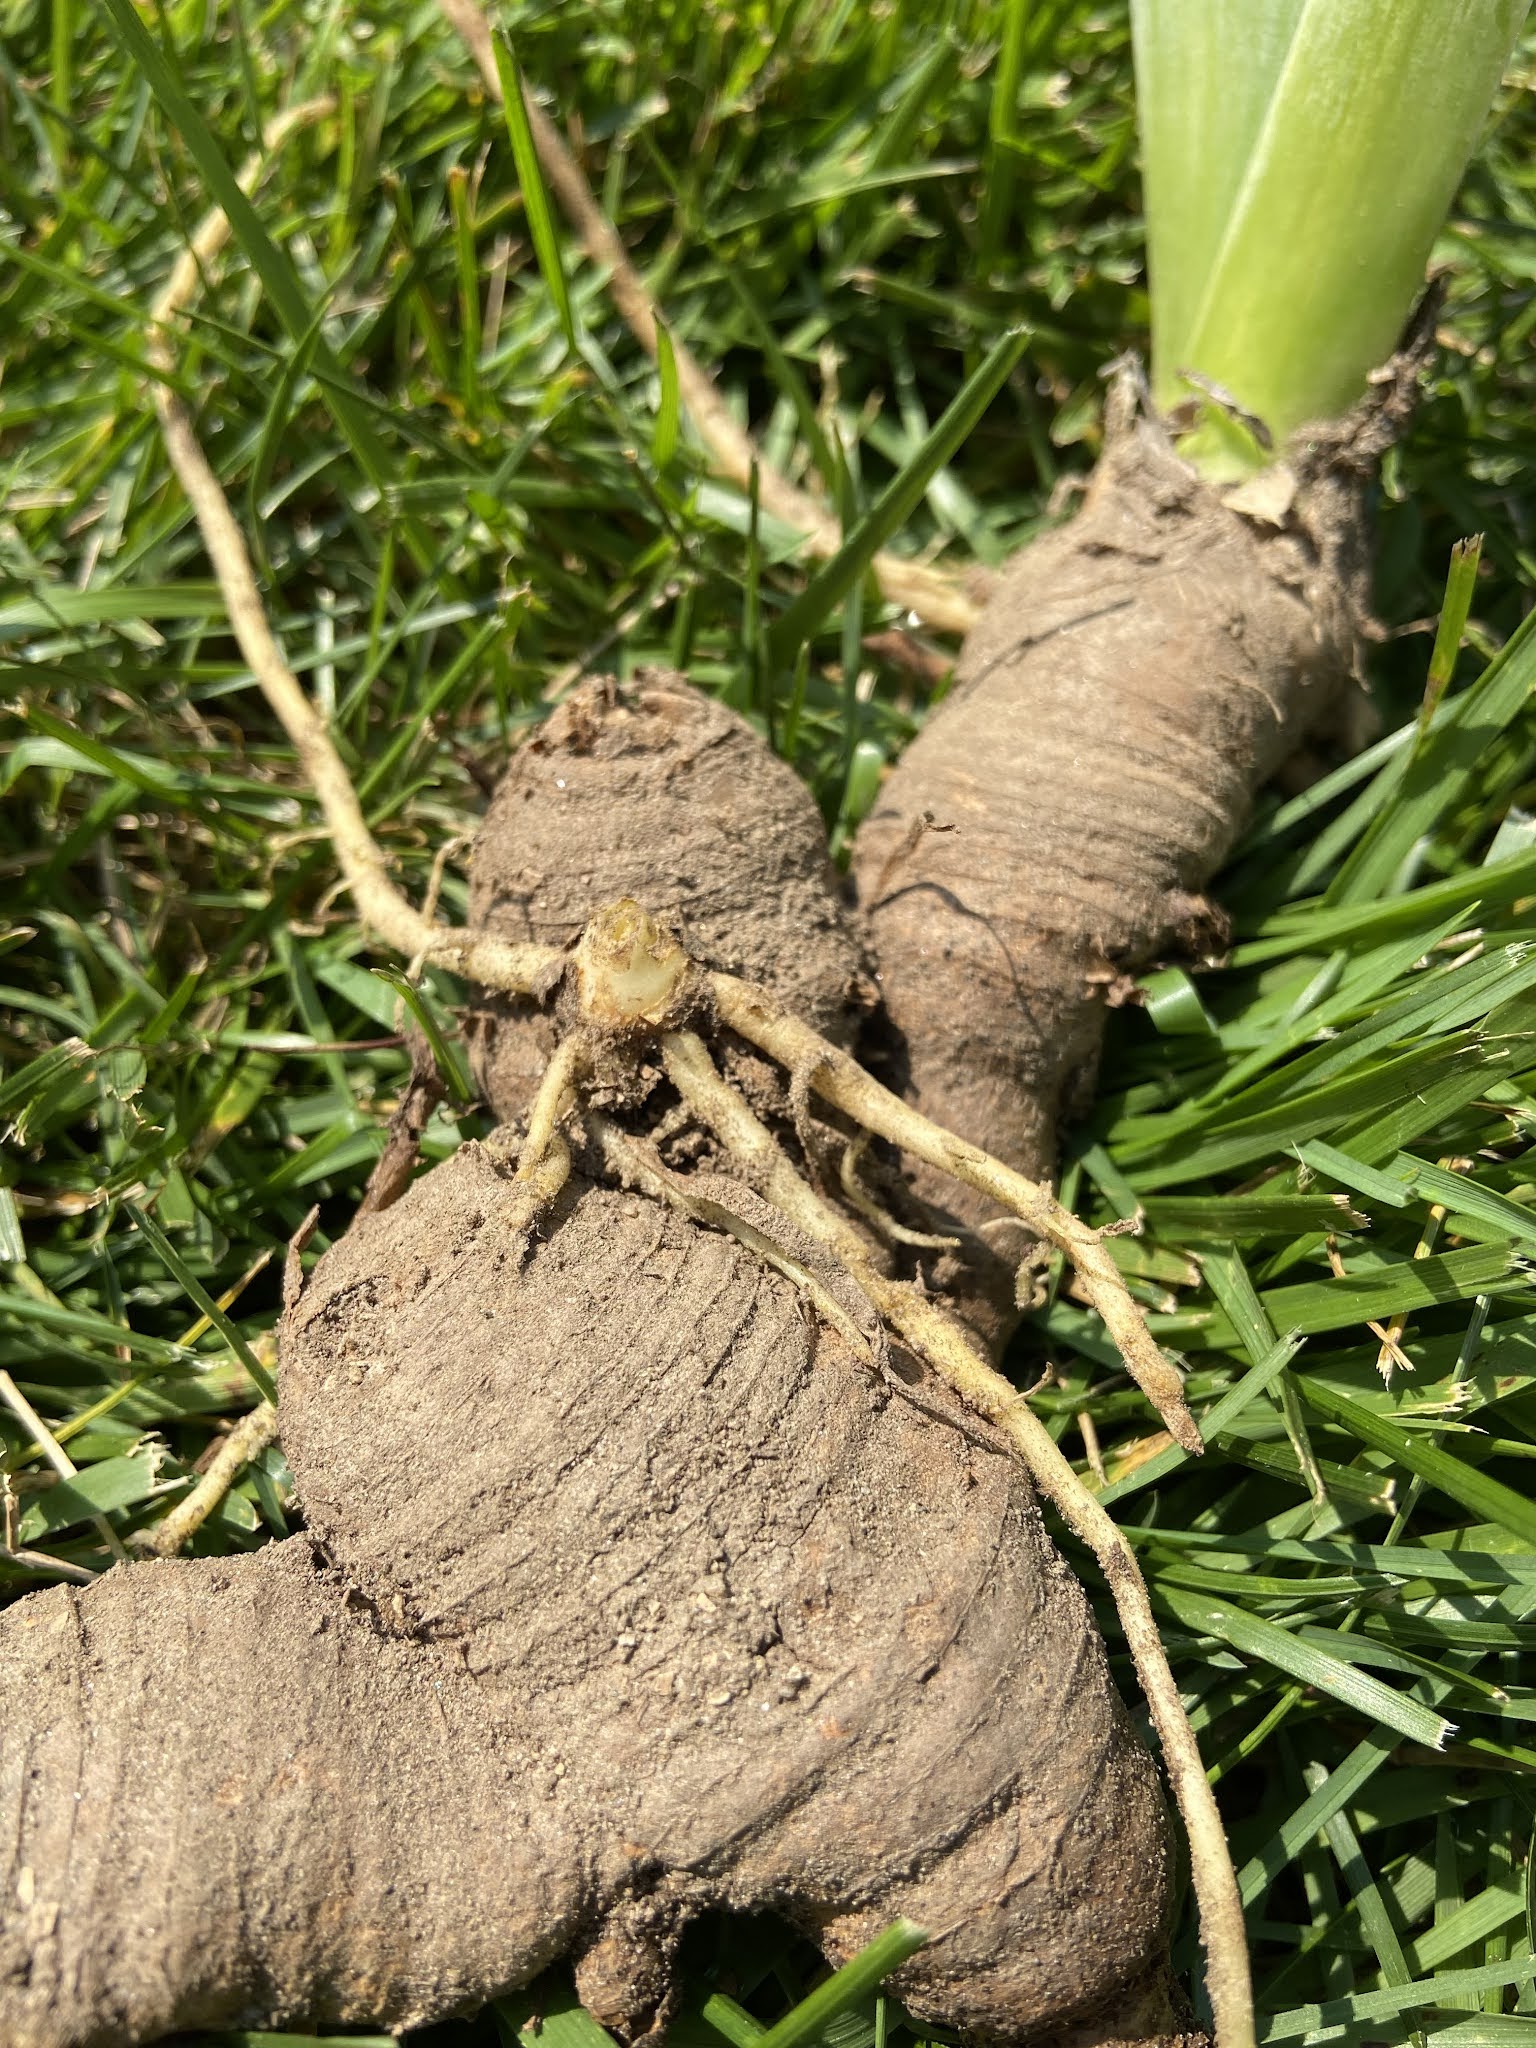
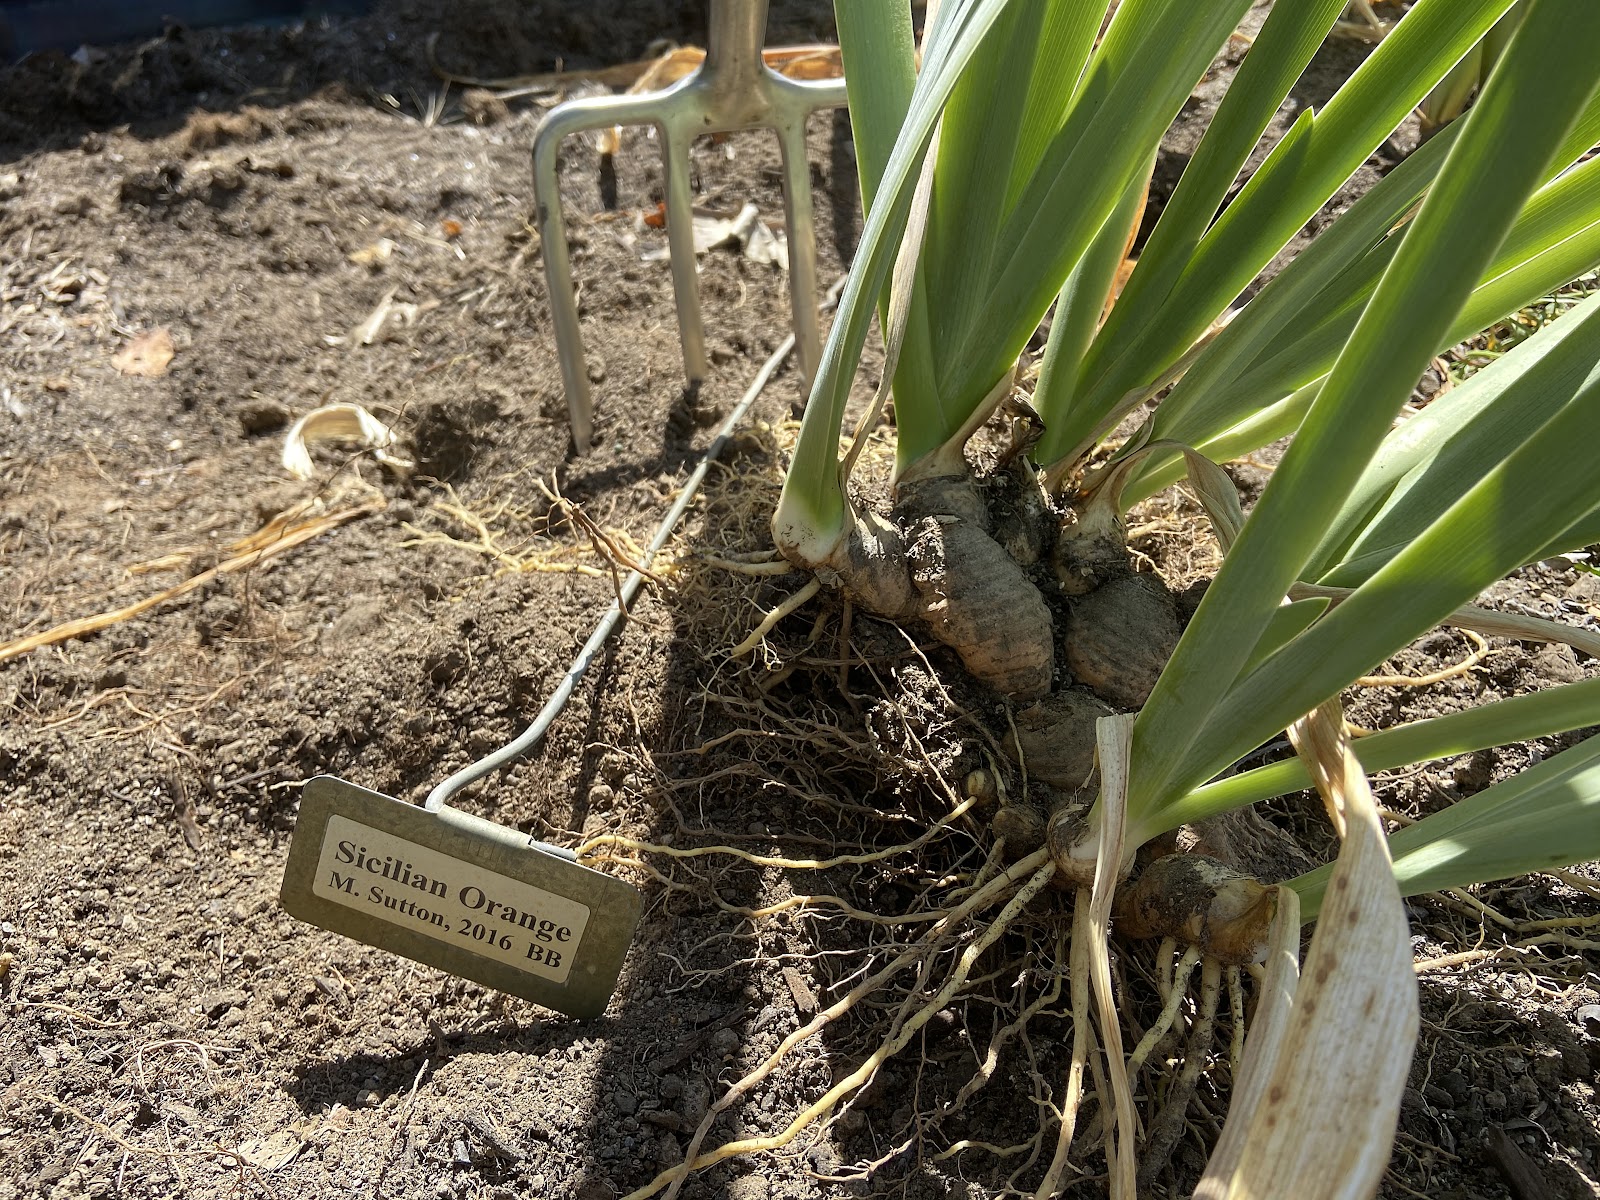
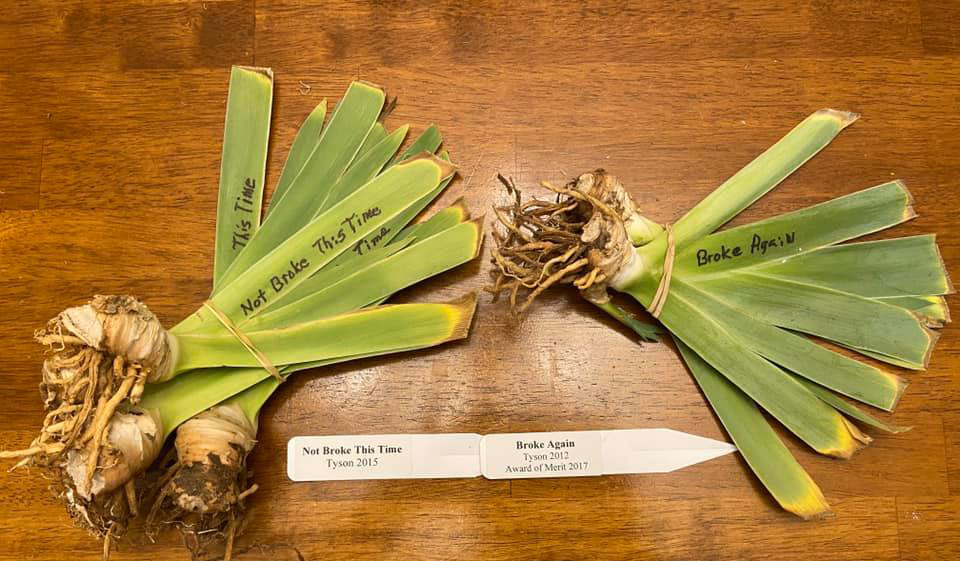
After trimming iris roots and leaves to the desired length, we set about making temporary labels for our treasures. For bearded irises, we use rags to gently wipe away a waxy layer (a protective cuticle) and write the iris name on a single inner iris leaf using a black permanent marker. Beardless irises are “diapered” by wrapping the rootball tightly in wet paper towels with a rubber band. A plastic knife with iris name written in black permanent marker is added next, followed by a tightly wrapped plastic bag and another rubber band.
Because labeling is so important, it helps to buy good permanent markers. Some irisarians swear by Milwaukee Tool Company “Inkzall'' markers available in the tool section at Home Depot. If these are not available, a black Sanford Ink Co. Sharpie or Bic Mark-It do just fine. However, it seems like the “Inkzall'' markers don’t dry out as badly when uncapped for long periods of time. Fair warning: labels made using porous paper or written with a permanent marker might not last long outdoors. It is important to create durable labels before the temporary one deteriorates. If you forget, your planting map quickly transforms into a treasure map!
Irises with temporary labels and Heather’s plastic backup labels
In our gardens, irises added to our collection receive a metal plant marker with weatherproof label soon after planting. By giving our treasured plants informative and durable labels we connect with people we love, even when they aren’t with us. Those outside our immediate family seem to appreciate knowing the heritage and community behind our iris collection, and eagerly support our effort by adding the plants from our extended “iris family” to their garden. Even gardeners who choose not to label irises from us recognize they are growing something very special. Our love of irises becomes intertwined with theirs. Remember, labels help future generations understand and appreciate a treasure we pass along.
Alleah Haley with iris ‘Beverly Sills’ (Hager 1979)
For Comments:
What do you use to label your irises and why do you do it?
What iris topics would you like to read about in a future post?